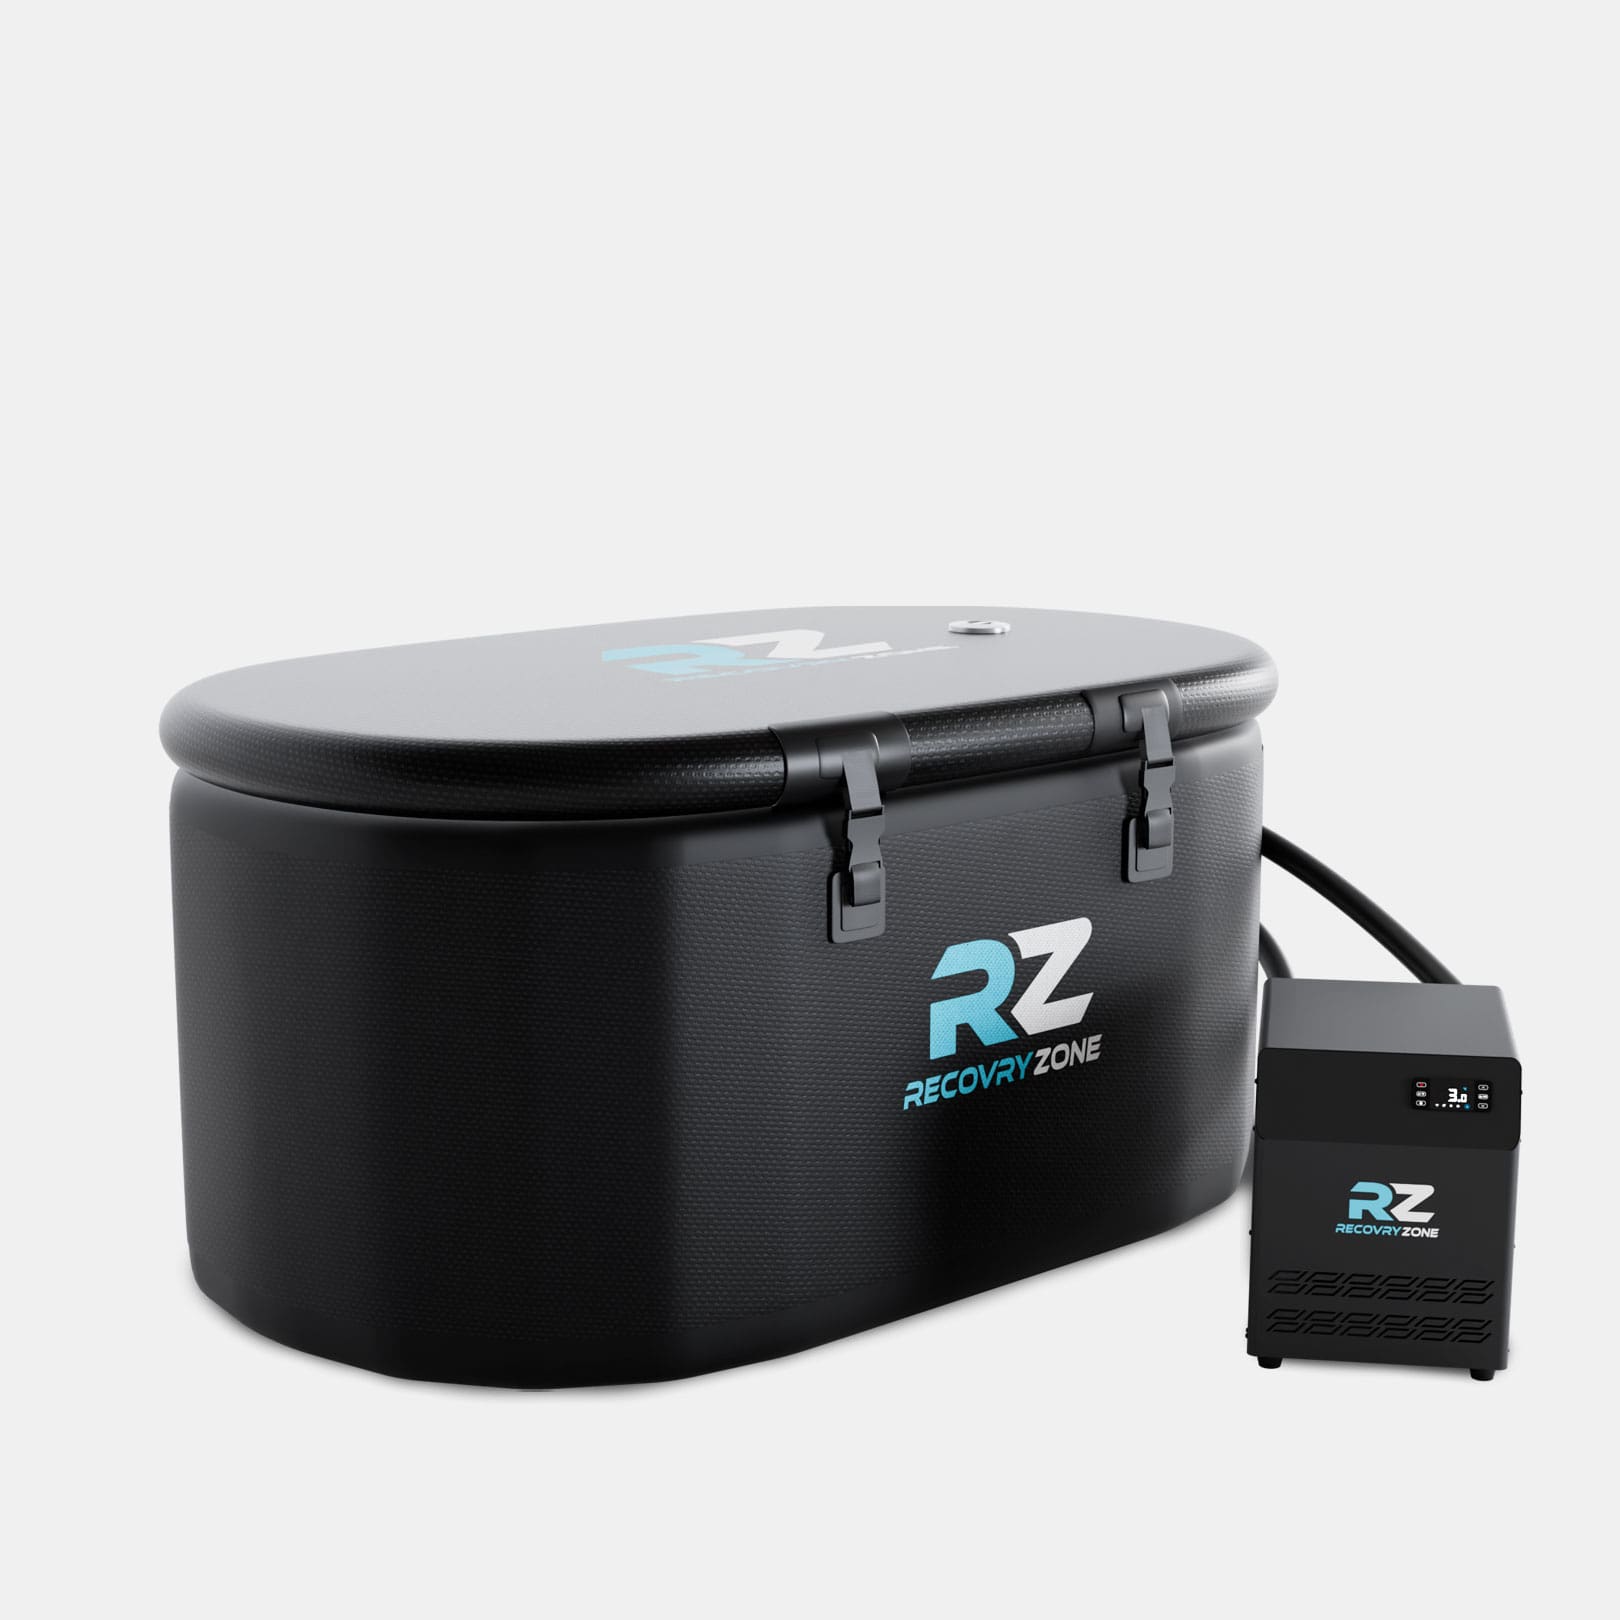

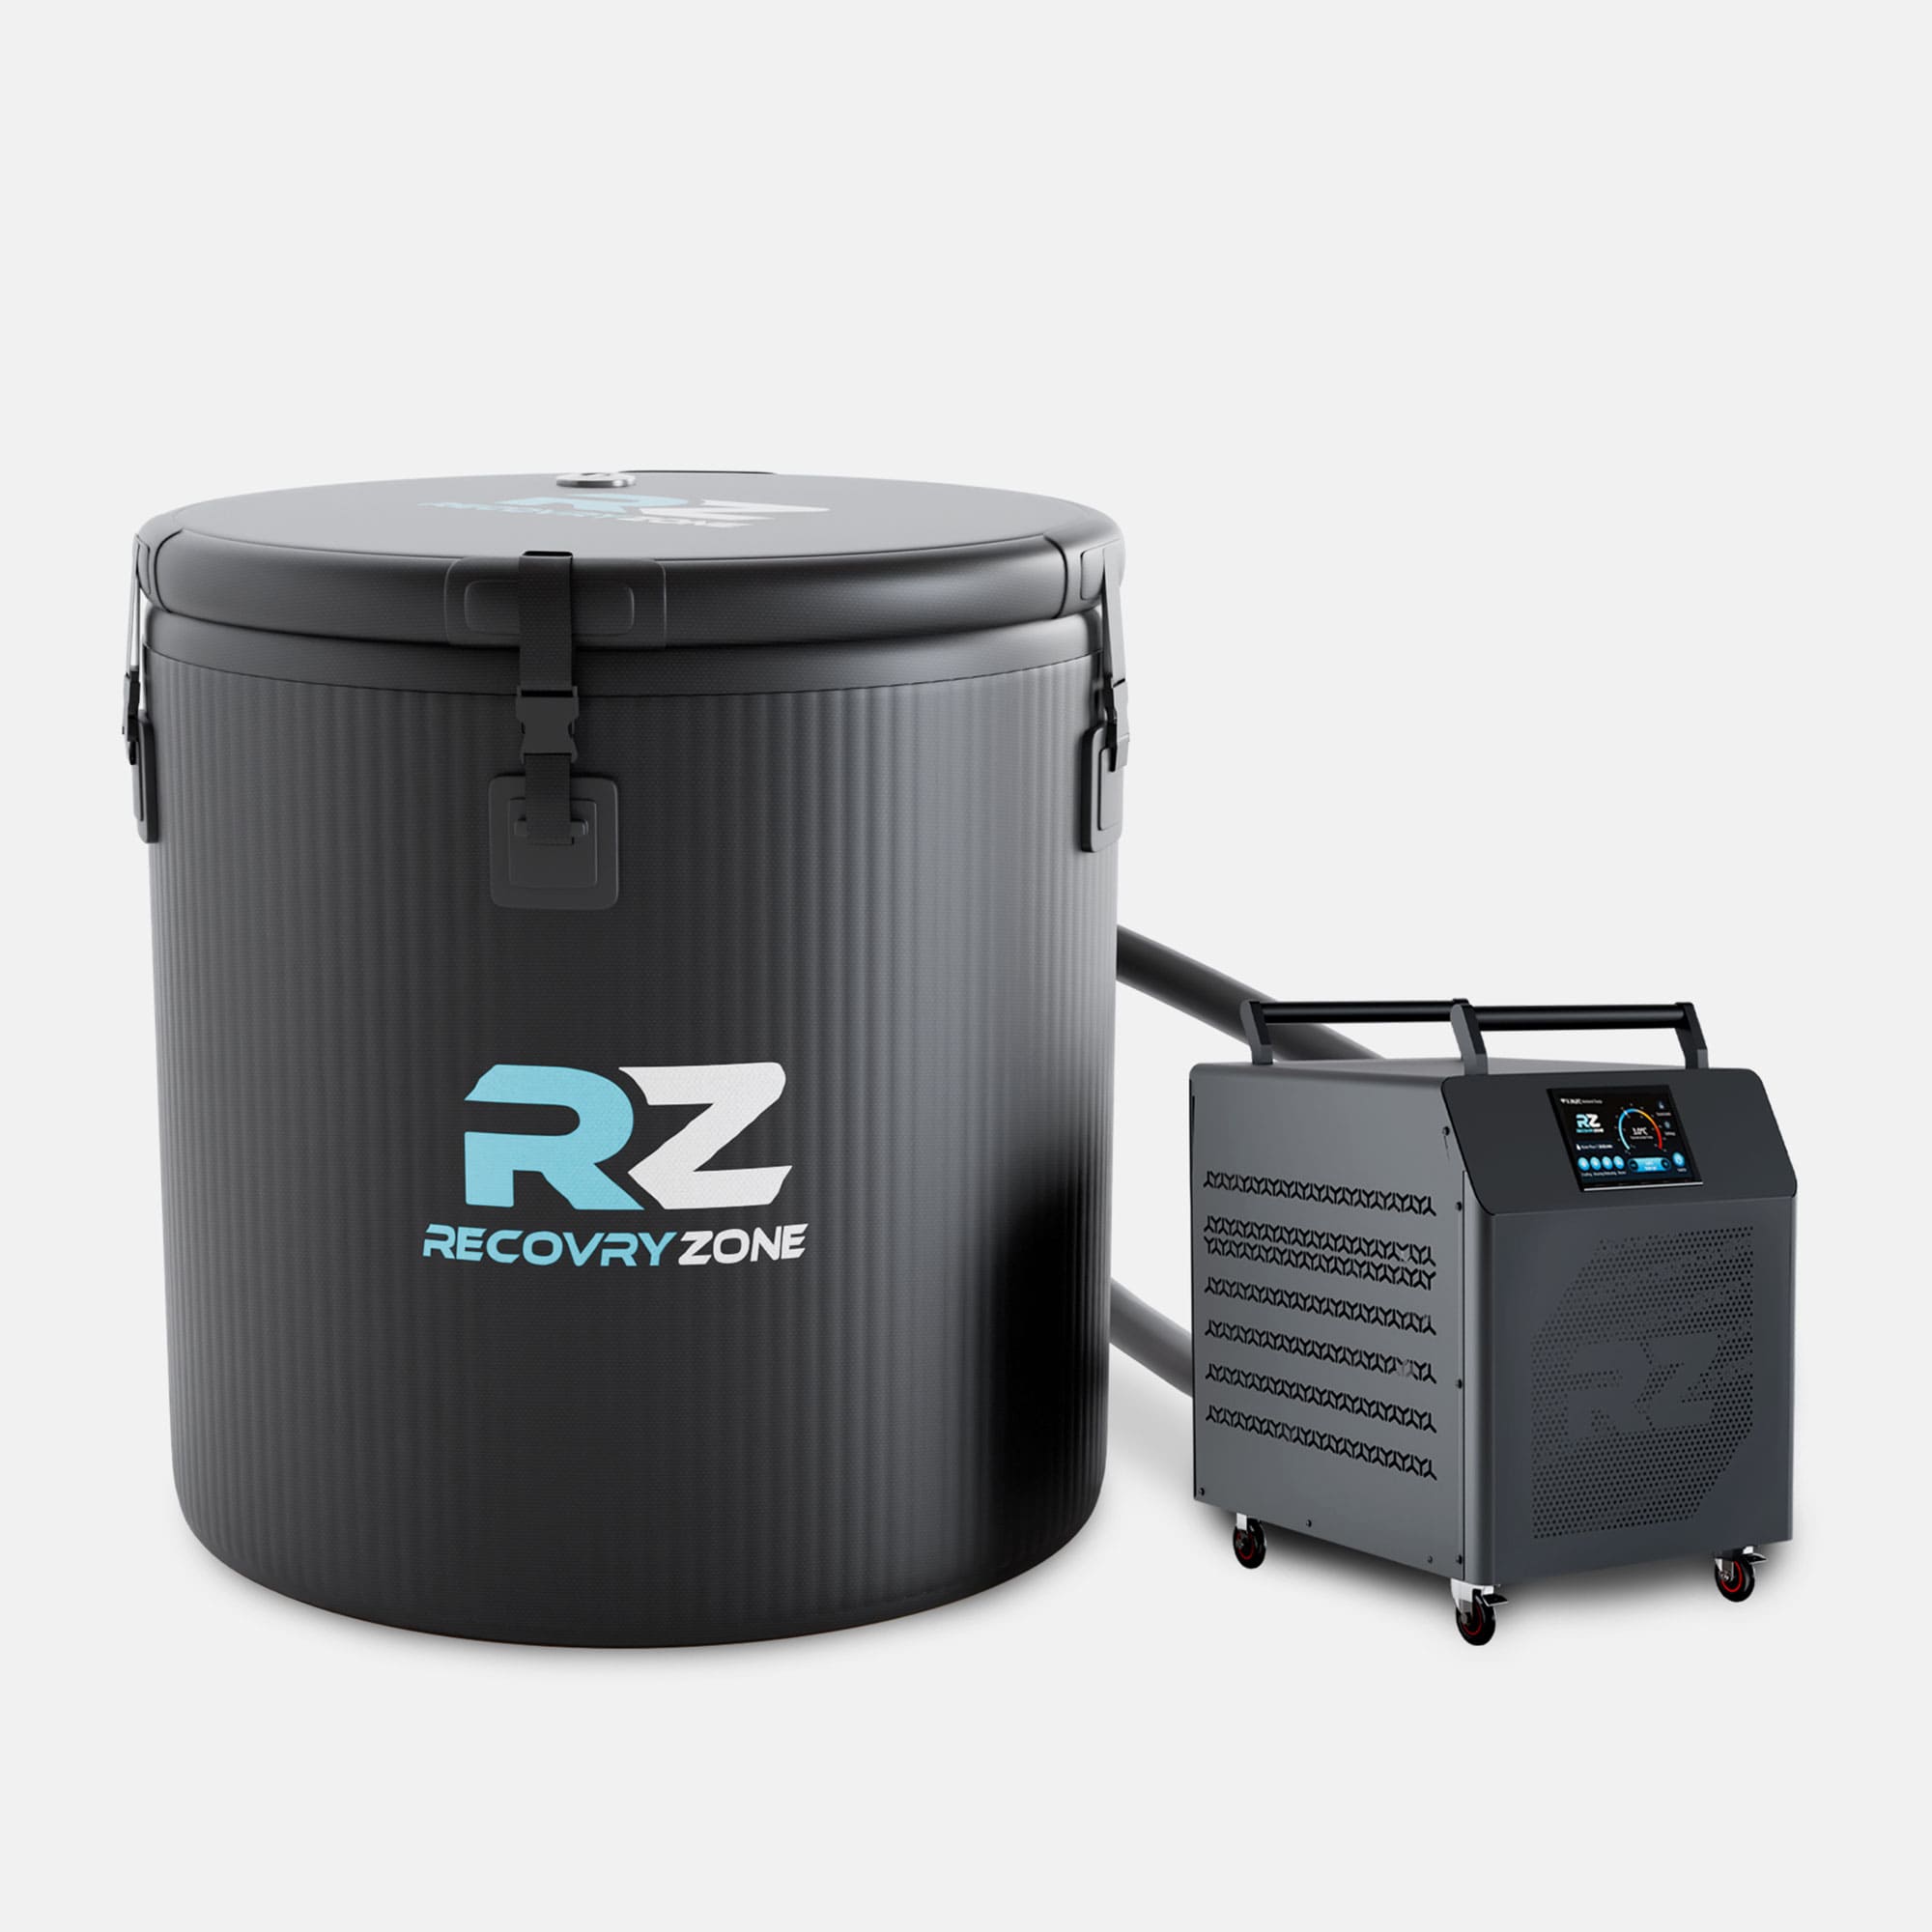


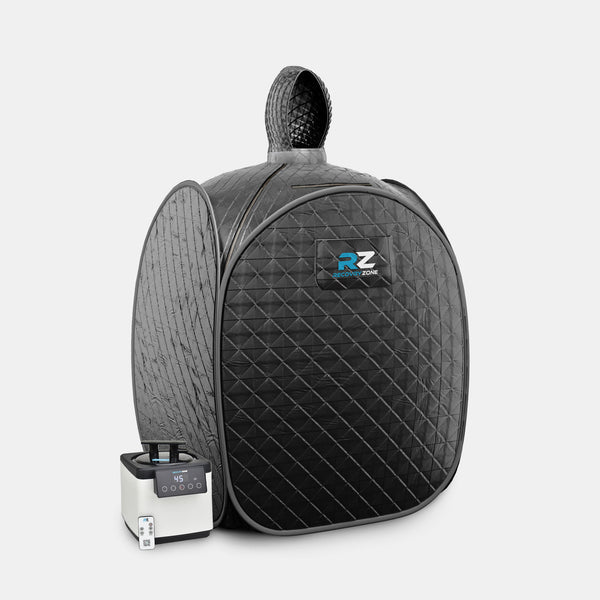
Sauna Steamer
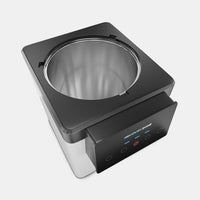
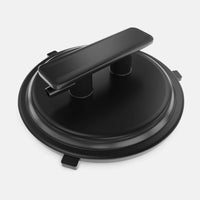

Setup & Assembly
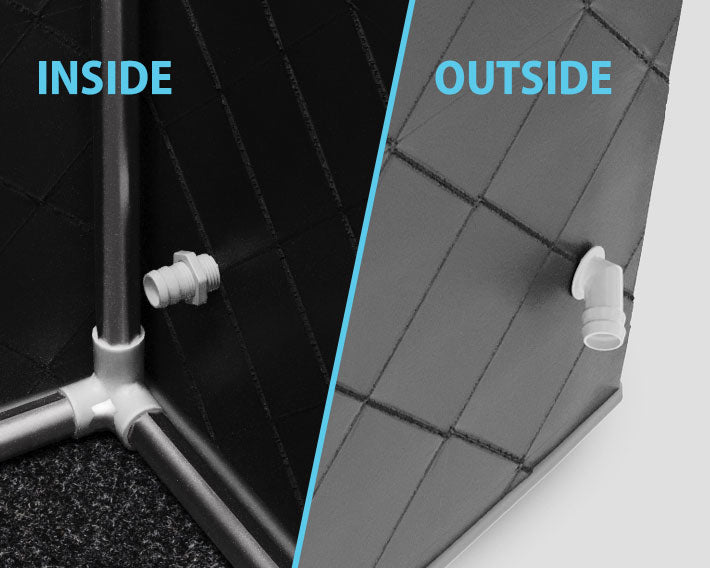
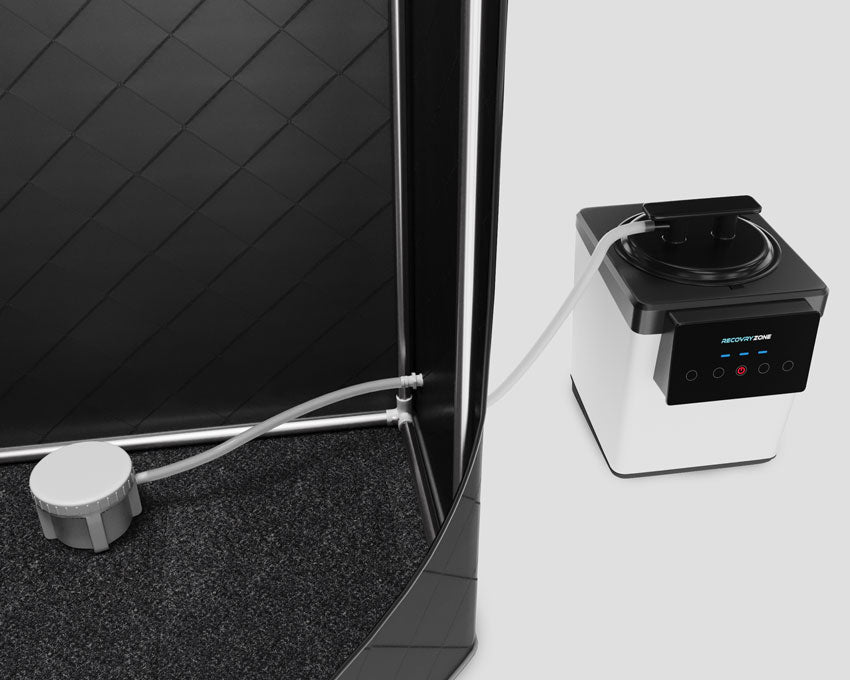
Sauna Instructions


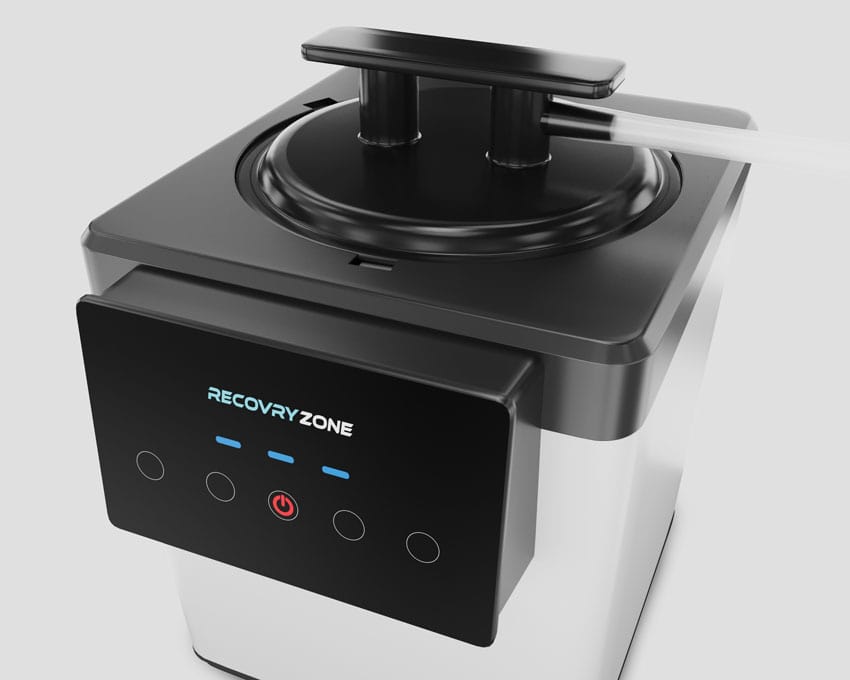
Heating Levels
The Steamer features 15 distinct steam levels. Each level determines the amount of steam produced. It's important to note that specific temperatures are not assigned to each level, as various external factors can influence the steamer. These factors may include ambient temperature, the surface on which the sauna is set up and how well the Sauna tent is closed. Ensuring the Sauna tent is properly sealed is crucial for maintaining the desired temperature. See First Time Use for recommended temperature settings.
First Time Use
To ensure a smooth introduction to the experience, we recommend starting conservatively and gradually acclimating to the Sauna's capabilities. For newcomers and seasoned users alike, we advise initiating your session at levels P06-P08. Begin your session with a modest duration of 8-15 minutes, extending it gradually as you grow accustomed to the sensation. Should you encounter any issues with temperature consistency or heating performance, double-check that all zippers are securely fastened and gaps closed to prevent steam leakage. Remember, the therapeutic benefits typically manifest in 5-10 minutes of exposure to steam. Be sure to take periodic breaks and maintain proper hydration throughout your session. Before proceeding, please read the entire guide to ensure the safe, correct usage and maintenance of the product.
Cleaning & Maintenance
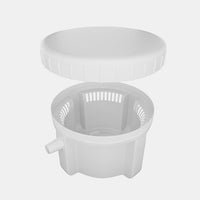
To maintain your Steamer, regularly clean it using a solution of white vinegar and water or a commercial descaler. Ensure the reservoir is empty and the device is unplugged and cooled down. Gently scrub the interior surfaces, rinse thoroughly, and dry completely to prevent scale buildup. Never expose liquid to any electrical components. For storage, keep the steamer in a cool, dry place. Use distilled water to minimise scale accumulation.
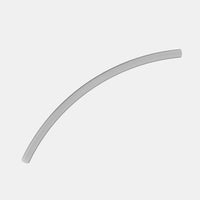
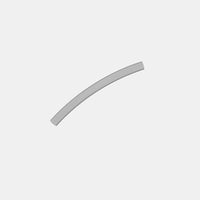
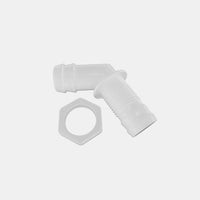
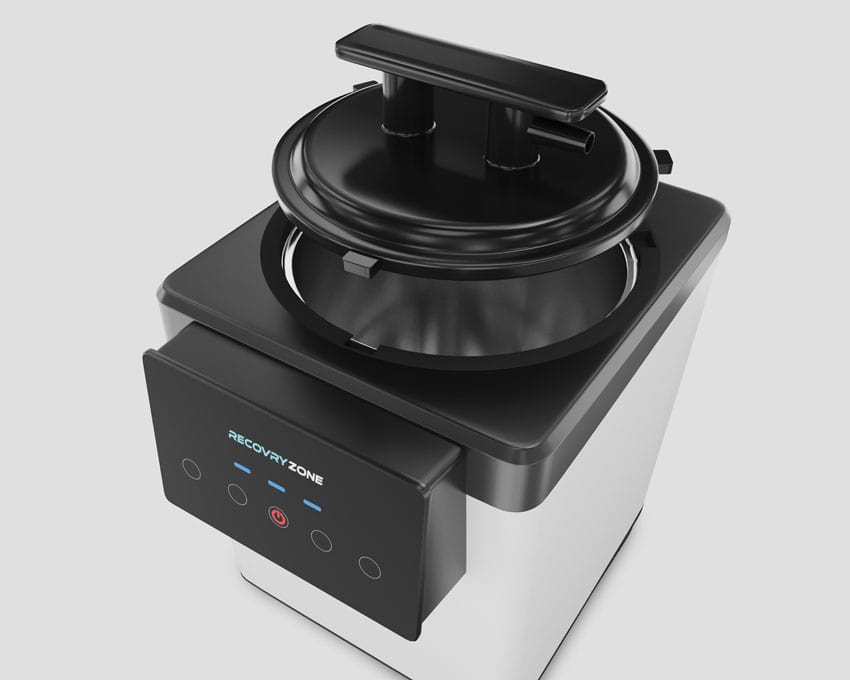
Safety Guidelines
ALWAYS consult your doctor before using a Sauna. Children, pets and vulnerable adults must always be supervised when in the vicinity of an operating Sauna and should never enter. Ensure only clean, purified water is used, preferably distilled, to avoid damaging the lid and steamer. Do not overfill the steamer; keep water levels below the marked maximum line. Always securely tighten the lid to prevent steam leakage and ensure pipes remain unfolded for clear steam passage. Avoid direct contact with hot surfaces, including pipes and the steam box. Never open the lid during or immediately after use; allow at least 15 minutes for cooling. Add only water to the steamer; use the steam box for essential oils or herbs. Operate the steamer away from flammable materials, and ensure proper ventilation in the room. Keep the steamer on a stable surface to prevent accidents.
